A durag is a piece of fabric worn by many people to keep their hair in place. It can be tied in different ways, but the most popular way is to tie it in the back. This ultimate guide will show you how to do just that!
Introduction
A durag is a necessary accessory for many Black men. It helps to keep our hair neat and can also be used as a fashion statement. Tying a durag in the back is not difficult but it does take some practice. This guide will show you how to do it step by step so that you can rock your durag with confidence!
Discover our Durags

How to Tie a Durag in the Back
Wearing a durag is a great way to keep your hair tidy and protected. But how do you tie one in the back? It’s actually quite easy, once you know how. Here’s the ultimate guide to tying a durag in the back…
1. Start by folding the durag in half lengthwise. Then, tie it around your head so that it covers your forehead (the front part of the fold should be at your hairline).
2. Next, take both ends of the folded durag and bring them round to the nape of your neck. Cross them over and tie them together securely at least twice for extra hold 3Finally, tuck any loose ends underneath or behind your ears so they’re not sticking out.
The Ultimate Guide
A durag is a type of headwear that has many different purposes. Originally, it was worn by African American men to keep their hair in place while they slept. Today, it is commonly worn as a fashion accessory or as part of a uniform (for example, some NFL players wear them during games).
There are several different ways to tie a durag. The most popular method is to tie it in the back. This can be done with or without an elastic band. If you’re using an elastic band, simply put the band around your head and then pull the ends through the loop at the back of your neck. Next, take both ends of the fabric and tie them together behind your head (over top of the elastic band). You can adjust how tight this knot is depending on how snug you want your durag to fit.
If you’re not using an elastic band, start by folding down one corner of the fabric so that you have a triangle shape. Then put this triangle overtop of your forehead and bring both sides down behind your head (underneath your ears). Tie these two pieces together at the base of your skull for a secure fit.
Materials Needed
Looking to up your durag game? This guide will show you how to tie a durag in the back for the ultimate fit. All you need is a durag and some scissors. Let’s get started!
Durag
You will need a durag, some hair gel, and a mirror. First, put the durag on your head and make sure that it is tight against your scalp. Next, take some hair gel and apply it to your hair. Make sure that you cover all of your hair with the gel so that it is evenly distributed. Finally, use the mirror to make sure that the back of your Durag is tied correctly.
Scissors
In order to tie a durag in the back, you will need scissors. Cut a small hole in the center of the durag, and then thread it through your hair. After that, take the two ends of the durag and tie them together in a knot at the base of your head. Finally, cut off any excess fabric so that it is even with the rest of the durag.
Step One
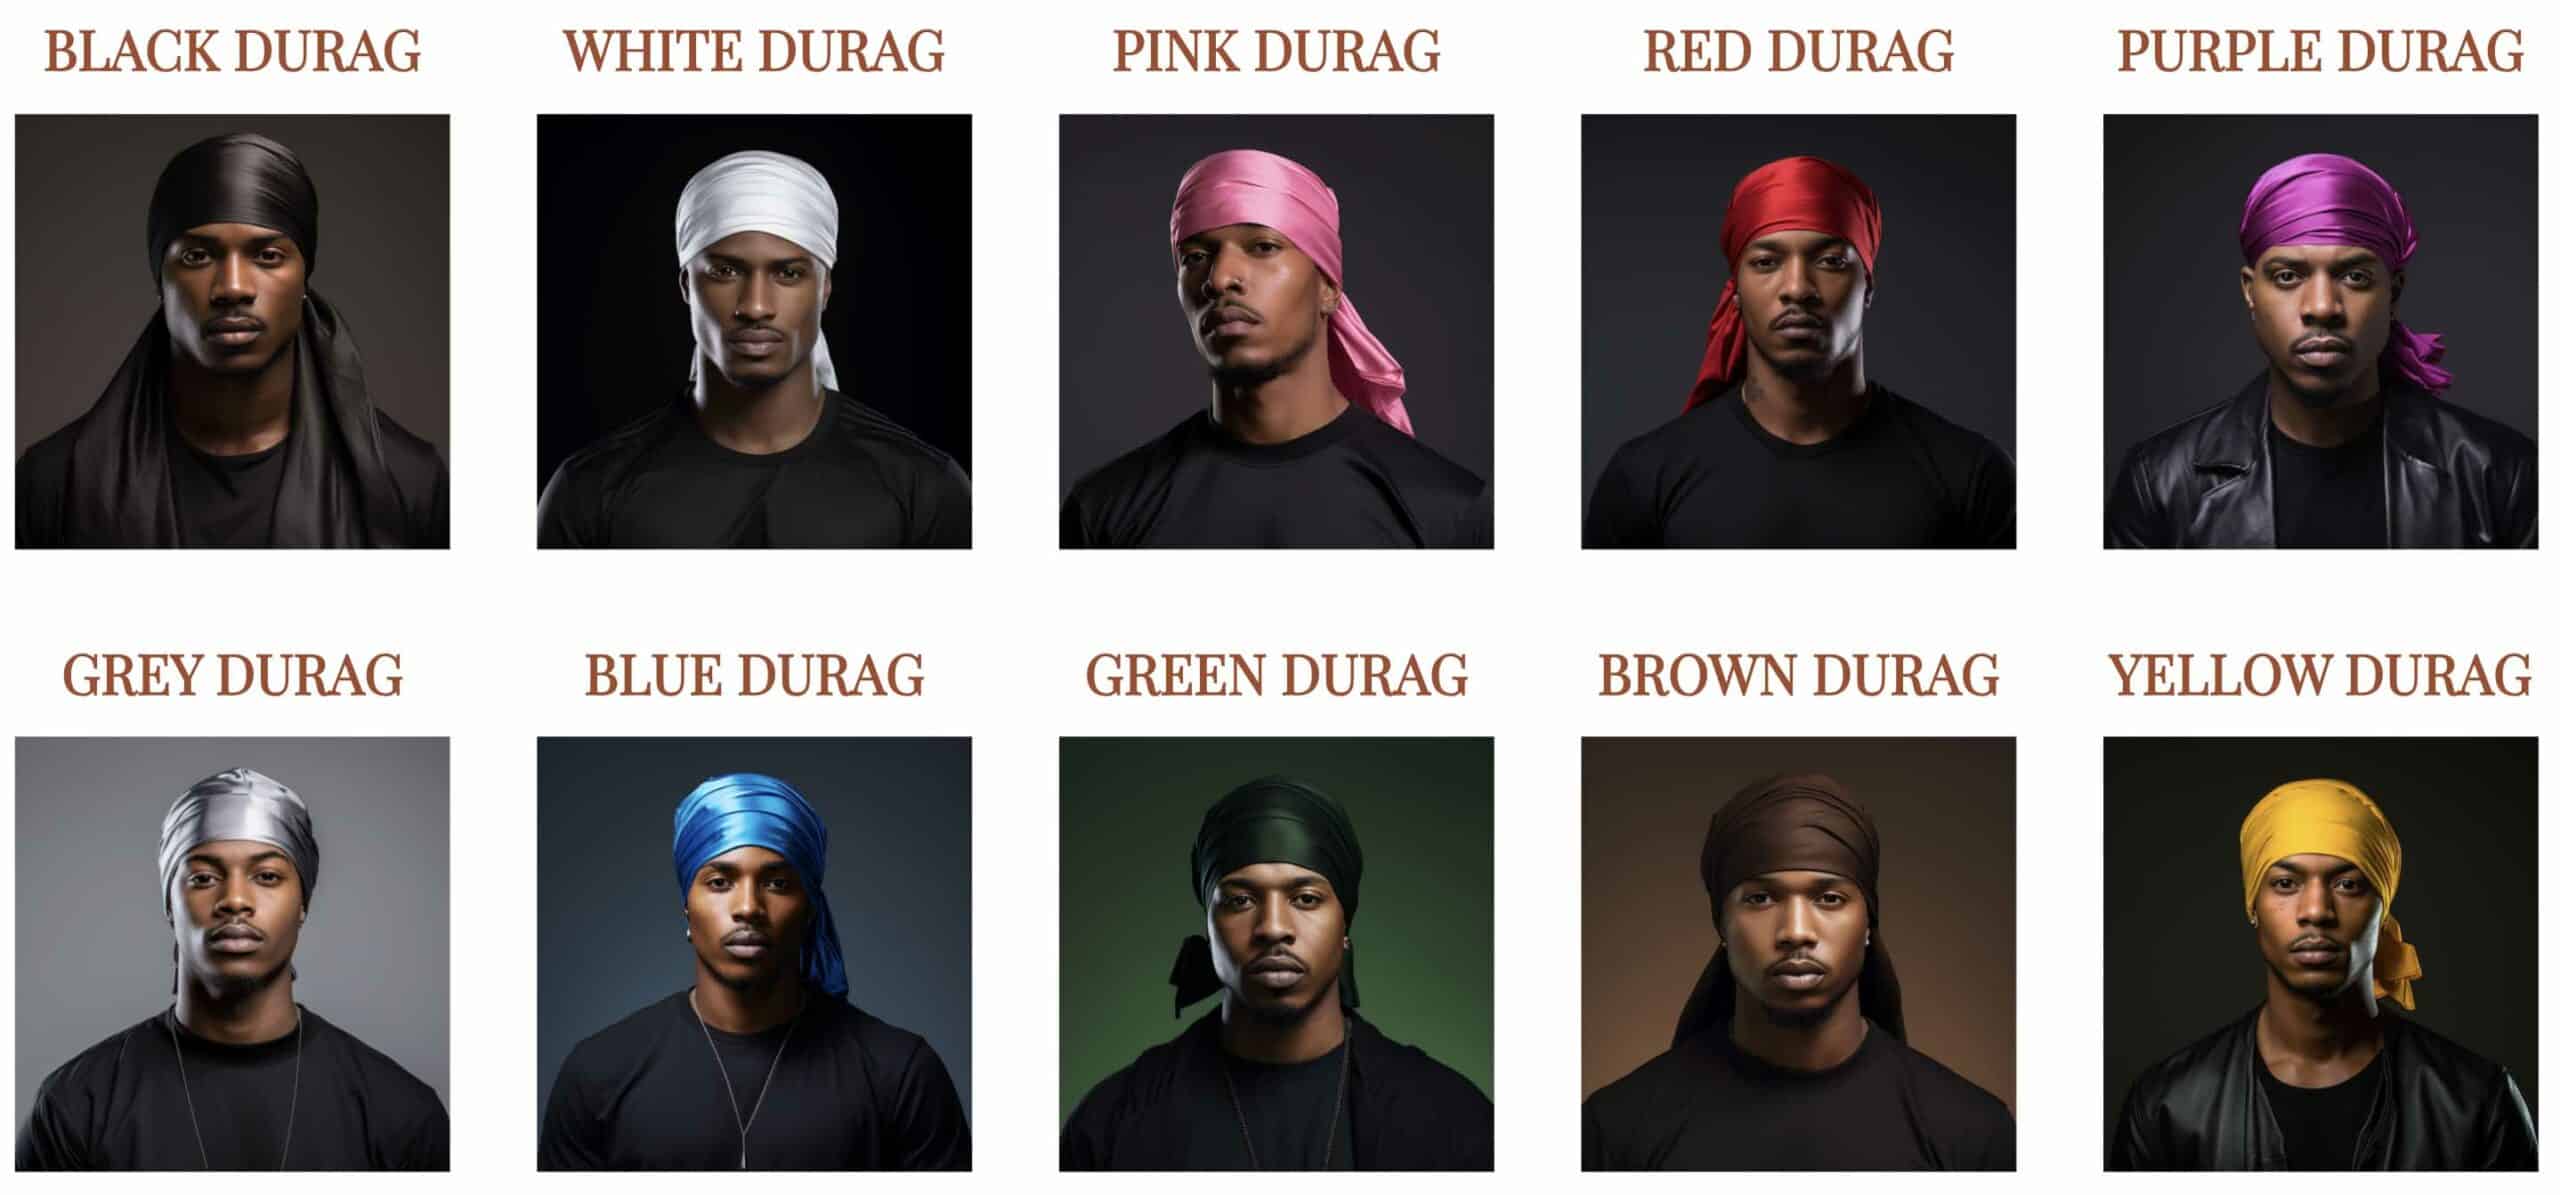
A durag is a piece of cloth that is often worn by African American men. It is typically used to keep the hair moisturized and protected from the elements. Durags come in different colors, patterns, and styles. Many people wear durags to bed as well in order to protect their hairstyles.
Materials You Will Need
To tie a durag in the back, you will need:
- A durag
- Two hair ties
- Scissors (optional)
Once you have gathered your materials, follow these steps:
- Cut a small hole in the center of the durag.
- Thread the durag through your hair, ensuring it is centered.
- Take the two ends of the durag and tie them together in a knot at the base of your head.
- If desired, use scissors to trim off any excess fabric so that it is even with the rest of the durag.
Instructions
First, you’ll need a durag. You can purchase one online or at most convenience stores. Make sure it’s tight-fitting and made of breathable material like cotton to avoid discomfort.
Next, tie the string around your head so that it’s snug but not too tight. The straps should be in the front, with the longer ones going over your ears
and the shorter ones in back under your hairline. Adjust as needed until everything feels secure without being uncomfortable
Now take the end of the durag fabric and tuck it into itself behind your head until only a small tail is left hanging out
Finally, grab hold of both tails and give them a good tug to tighten everything up—but don’t pull too hard or you’ll risk giving yourself a headache.
Step Two
Are you looking for the ultimate guide on how to tie a durag in the back? If so, you’ve come to the right place! In this article, we’ll provide step-by-step instructions on how to achieve the perfect durag fit. We’ll also share some tips on what to do next once you’ve tied your durag in place. So if you’re ready to learn more about how to perfectly tie a durag, read on!
The Next Step
Now that you’ve completed the first step, it’s time to move on to the next one. Remember, tying a durag in the back is all about getting the right fit. So, make sure you take your time and get it right.
The next step is to put on theDurag itself. Again, there are a few different ways to do this but we recommend starting withthe front panel facing towards you . Next, alignthe bottom ofheadbandwith youreyebrowsand bringit upoveryour headto meet atbackof your neck .Taketwo cornersand tiea knowbehindyour head making sureto leaveno slack beforepullingtugson both sidesfirmlyto secure knot…Andthat’sthe secondstepcompleted!
What to Do Next
Now that you have your durag, it’s time to learn how to tie it in the back. This ultimate guide will walk you through everything you need to know, from what kind of material to use and how tight to make it.
First things first: gather all the materials you’ll need. You’ll need a long strip of cloth or nylon, about 2 feet wide and 3-4 feet long. You’ll also need something soft – polyester or silk durags are commonly used and can be bought at most fabric stores.
Once you have your materials gathered, follow these steps:
- Fold the cloth in half lengthwise so it’s only 1 foot wide and 4-6 feet long.
- Tie a knot near one end of the folded cloth – this will be used as an anchor later on.
- Next, take the free end of the durag (the part that isn’t tied into a knot) and put it around your head starting at your forehead, similar to the way you would wear a bandana. Tie the ends together at the nape of your neck. Leave enough slack so that you can still breathe comfortably before tying the knot. You want it to be easy to reach behind your head to loosen or tighten as needed later on, depending on the strength of the wind or the size of your flowing hair.
Now that you have the durag on your head, it’s time to start tying it in the back.
Discover our Silk Durags
Conclusion
Tying a durag in the back is not as difficult as it may seem. With a few simple tips, you can achieve the perfect fit. Read on to learn how to tie your durag in the back for ultimate comfort and style.
How to achieve the perfect fit
Assuming you’ve already cut and sewn your durag fabric into a bandanna shape, it’s time to learn how to tie it in the back. There are a few different ways to do this, but we’ll show you the two most popular methods.
First, fold the top half of the durag down so that it meets the bottom half. Then, take both ends of the fabric and tie them together at the back of your head. You can make this knot as tight or loose as you like – just remember that a tighter knot will result in a snugger fit overall.
Alternatively, you can create what’s known as an “overhand loop.” To do this, simply fold one end of the fabric over itself until it forms a loop. Then, feedthe other end of the fabric through the loop and pull it tight.
Tips for tying your durag
There you have it! Everything you need to know about tying a durag in the back. Just remember to use these tips and be patient while adjusting the straps. With a little practice, you’ll have it down in no time!