Looking for a new way to style your durag? Try tying it on the side! This sleek look is perfect for any occasion. Follow the steps below to learn how to tie a durag on the side.
Introduction
Start with a clean, dry durag. Place the durag on your head so that it is tight but comfortable. Fold the top half of the durag down and then tie it at the back of your head. Repeat this process with the bottom half of the durag. Finally, tuck any loose ends into the bandana for a neat finish.
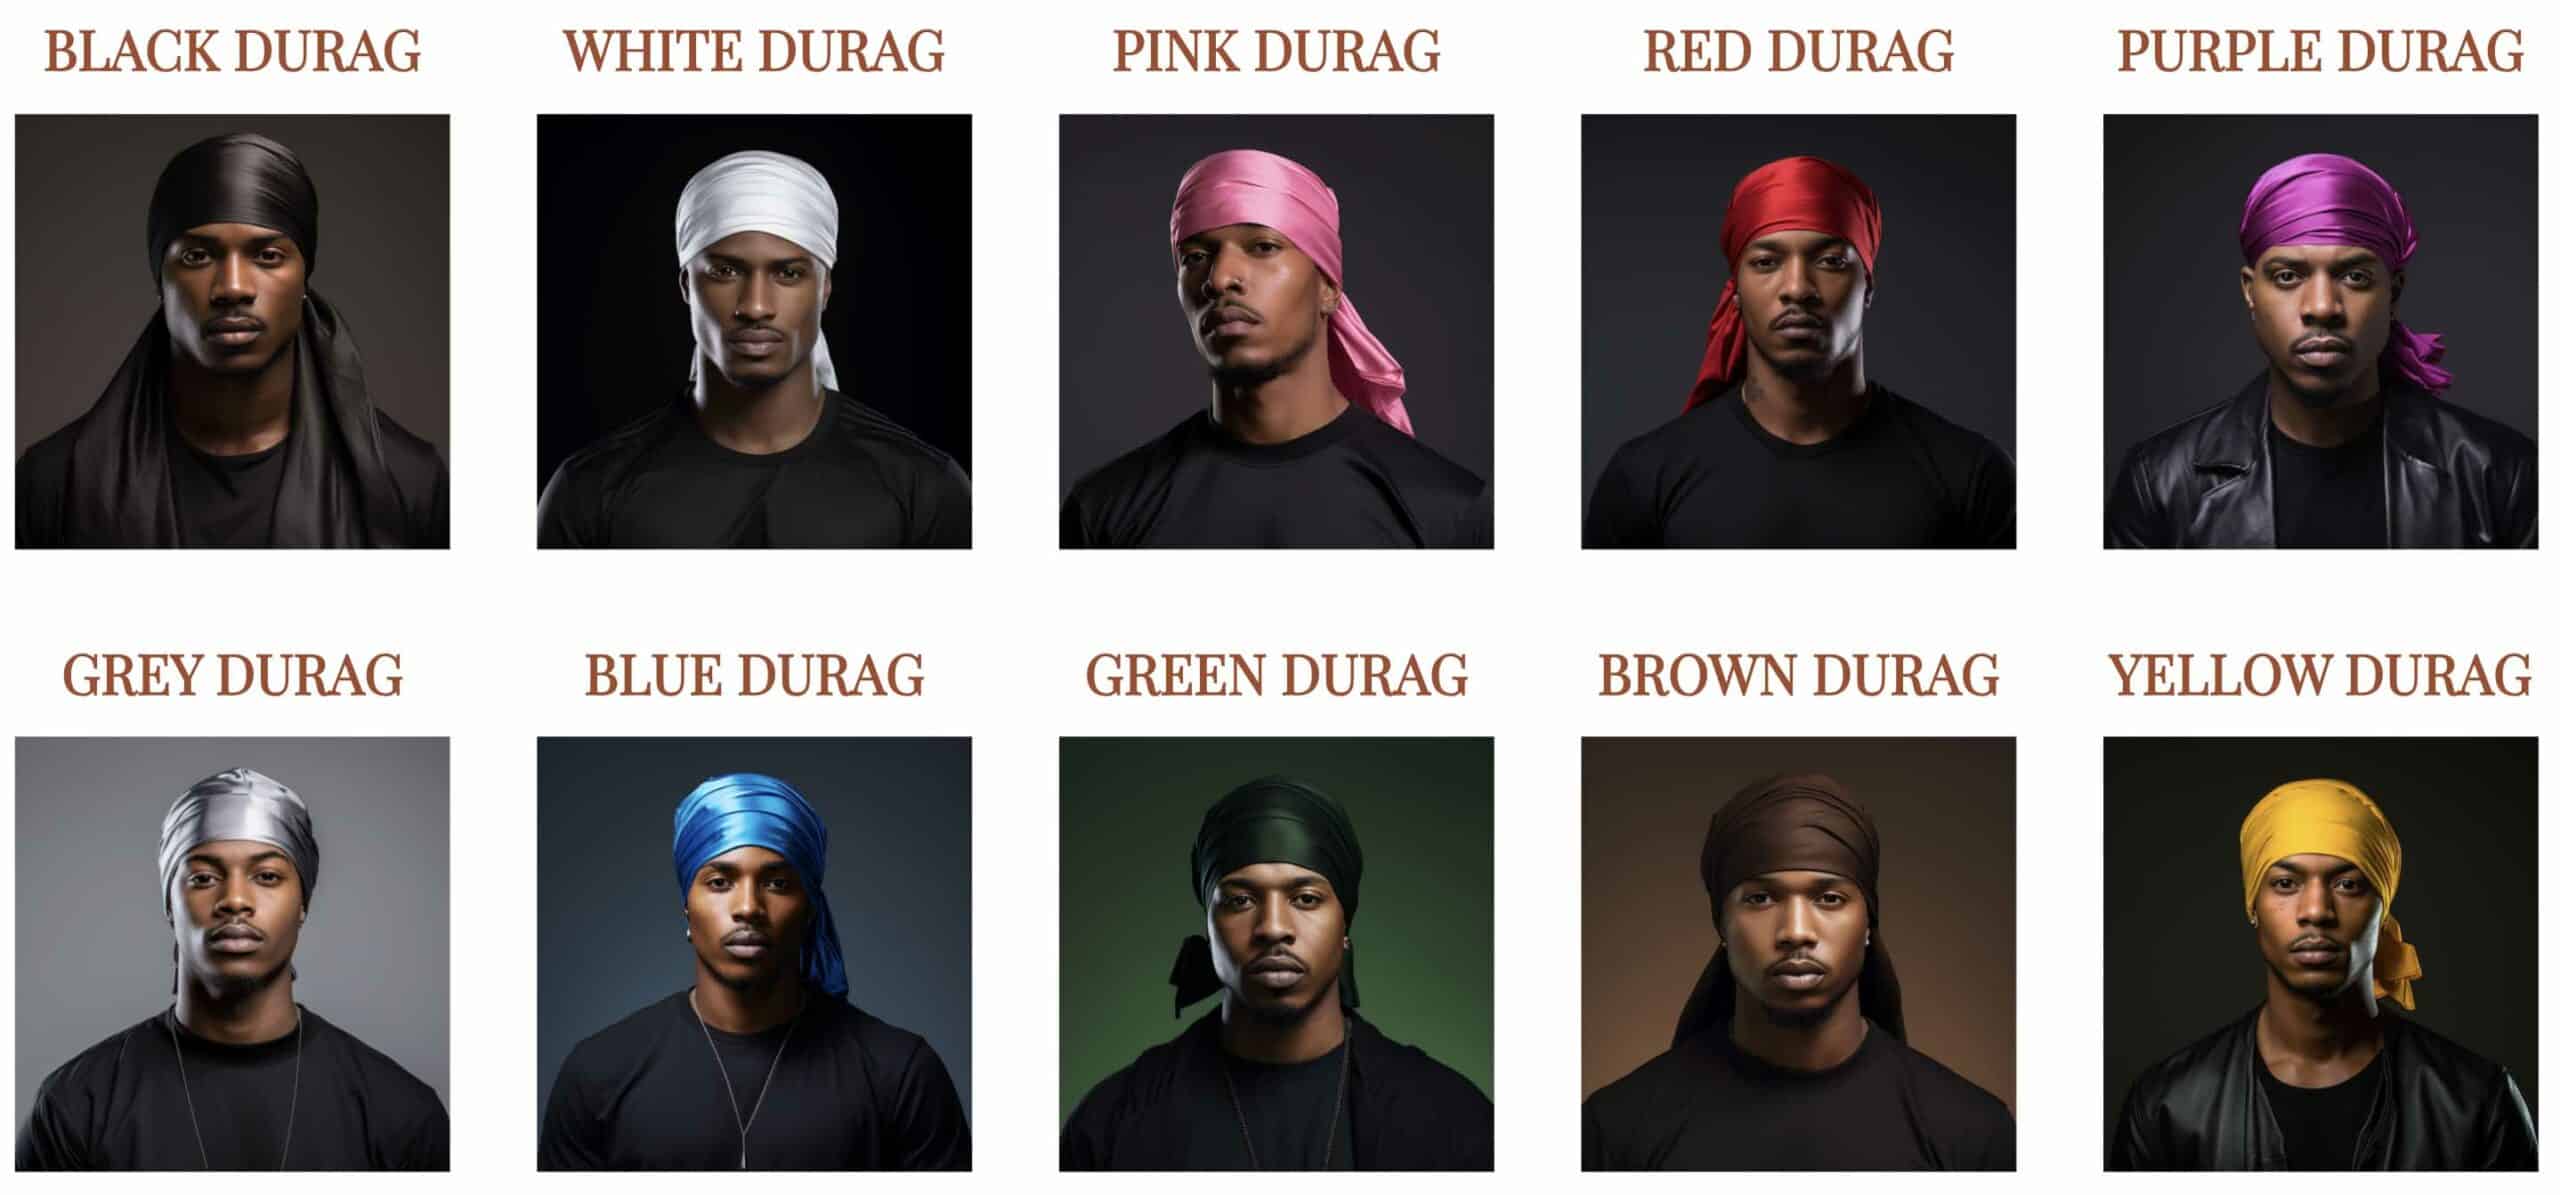
Discover our Durags

Start with a clean, dry durag.
To get started, make sure your durag is clean and dry. Then, fold it in half so that the long side meets the short side. Next, take one of the corners and bring it up to meet the top edge of the durag. Repeat this step with the other corner. Now you should have a triangle shape.
From here, take one of the long sides and bring it over to meet the other long side inthe middle of the durag. Once again, repeat this step with the remaining longside .You should now have a slimmer triangle shape .Lastly , tie eachendofthelong sidestogetherbehindyour headtosecuretheduraginplace.
Place the durag on your head.
With the durag on your head, take one of the long tails and pull it over your forehead. Then, take the other long tail and do the same thing. The two tails should now be crossed in front of your face. Next, take one of the short tails and tie it behind your head. Do the same with the other short tail. Finally, adjust the fit of the durag by pulling on both sets of strings until it is snug but not too tight.”
What You’ll Need
Looking for a sleek way to wear your durag? Try tying it on the side! This look is perfect for people who want to show off their style. Here’s what you’ll need to do it.
Supplies
To get the sleek look you’re going for, you’ll need to start with the right supplies. You’ll need a durag that’s long enough to tie on the side, and some bobby pins. Make sure your hair is clean and dry before you start, so it stays in place all day.
Step-by-Step Instructions
A durag is a great way to keep your hair neat and tidy, and it can also give you a sleek, stylish look. If you want to tie your durag on the side for a more sophisticated style, follow these instructions.
First, gather all of the materials you’ll need: a durag, scissors, and an elastic band. Then cut off any excess fabric from theDur ag so that it’s about 3-4 inches wide. Next fold the Durac over itself lengthwise so that it’s only about 1-2 inches wide.
Now take one end of the folded Durad threw looped around at least twice creating what looks like “C” shapes then grab hold both ends of attached string ,pulling tight & knotting in order ensure secure fit before tucking away any stray threads.
Step One: Create a Center Part
A durag is a must-have accessory for anyone who wants to style their hair in a sleek, stylish way. In this article, we’ll show you how to tie a durag on the side for a look that is both fashionable and functional.
Step Two: Place the Durag on Your Head
To get started, you’ll want to create a center part in your hair. Next, place the durag on your head with the tie side facing down. Once it’s in position, take the long end of the durag and wrap it around your head. Then, bring it back to the front and tie it off at the base of your skull. For a sleek look, make sure that all of the fabric is tight against your head. You can also adjust how low or high you wear your durag by changing where you tie it off at the front.
Step Two: Place the Durag on Your Head
Looking to achieve the perfect sleek look with your durag? Follow these simple steps and you’ll be looking fly in no time!
Placing the Durag on Your Head
To tie a durag on the side for a sleek look, first place the durag on your head. Then, take one corner of the Durag and bring it over your head to meet at the opposite ear. After that, tying it in a knot at .
Securing the Durag in Place
Now that the durag is on your head, it’s time to secure it in place. The most important part of this step is to make sure the durag is tight enough around your head. If it’s too loose, it won’t stay in place and will look sloppy. Too tight, however, and you’ll end up with a headache. Find a happy medium by tying the strings tightly but not too tightly. Once you’ve got the perfect fit, tuck any excess material into the bandana itself so that everything looks neat and tidy.
Discover our Silk Durags
Step Three: Tie the Straps in a Knot at the Back of Your Neck
Step Three: Tie the Straps in a Knot at the Back of Your Neck
For many people, wearing a durag is about achieving a certain look. Some wear it for protection while others simply think it looks cool. However you rock yours, knowing how to tie it properly is key. In this article, we’ll show you how to do just that!
Secure the straps in a knot at the back of your neck.
Tying a durag on the side is a great way to get a sleek look. First, you’ll need to tie the straps in a knot at the back of your neck. Next, take one end of the strap and loop it around the other end. Pull it tight and secure it with another knot. Finally, adjust theposition of your durag so that it’s sitting snugly on your head.
Tie the straps together in a sleek knot.
To tie your durag on the side for a sleek look, start by putting it on inside out. Then, take the two straps and cross them at the back of your neck. Next, tie them together in a knot. Finally, flip your durag right-side out and adjust it to fit snugly around your head.